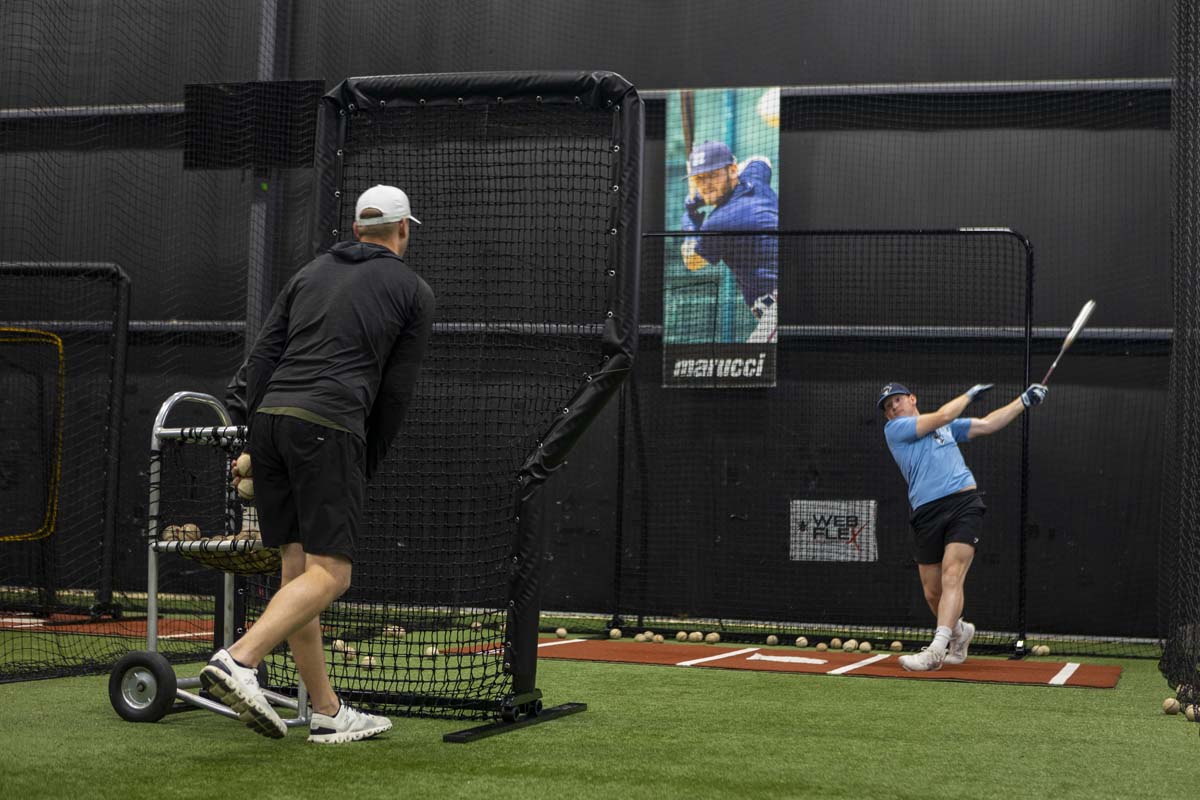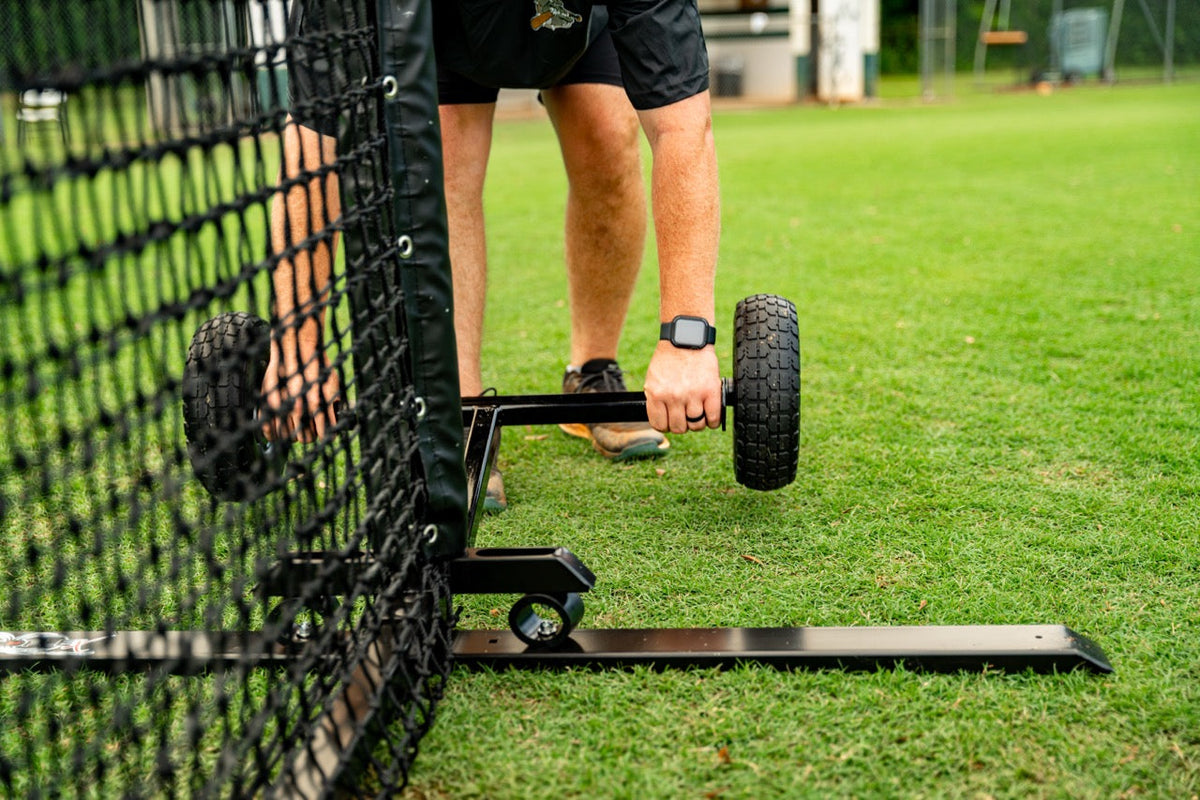

A rebounder only helps if it returns the ball the way your drill demands. Set it on uneven ground, leave the net loose, or aim it into a crowded space, and a simple throwing drill turns into wasted reps and chasing balls. Knowing how to set up a rebounder correctly gives players cleaner returns, gives coaches a more efficient station, and keeps the work safer for everyone nearby.
For baseball and softball, a rebounder is one of the most useful pieces of practice infrastructure you can own. It can support receiving work, fielding, throwing accuracy, hand-eye coordination, pitching drills, and solo training. But it is not a one-setting tool. The right setup depends on whether you want a firm chest-high return, a low ground-ball hop, or a high pop-up.
Start With a Safe, Level Training Space
Choose a flat surface with enough room for the player, the rebounder, and the return path. Grass, turf, gym flooring, and a level driveway can all work. Avoid slopes, loose gravel, standing water, and surfaces with holes. A slight lean in the frame changes the ball's return angle quickly, especially when players throw with pace.
Give the athlete room to move backward or laterally after each return. For most throwing drills, set the player at least 10 to 20 feet from the rebounder, then adjust based on age, throwing strength, and the drill. Younger players need shorter, more controllable distances. Older players and advanced athletes can create more game-like pace by moving back.
The area behind the rebounder matters, too. Do not place it directly in front of a fence, window, parked vehicle, dugout opening, or walkway. A missed throw can still carry through or around the net. At team practices, position the station so another group is not throwing or swinging into the same lane.
Assemble the Frame Before You Tension the Net
Lay out every frame section, net, bungee, strap, and hardware piece before assembly. This takes a minute and prevents a common mistake: installing the net before the frame is fully seated and stable. Build on the ground whenever possible rather than trying to connect pieces while the frame is upright.
Connect the base and upright sections completely. Push each section together until it is properly seated, then confirm that locking pins, bolts, or spring buttons are engaged according to the rebounder's instructions. A frame that looks assembled can still separate under repeated impact if one connection is only partially installed.
Once the frame is standing, check it from the front and side. The legs should sit evenly on the ground, and the frame should not rock when you apply light pressure. If it shifts, relocate it to flatter ground or recheck the connections before putting a ball into the net.
For outdoor use, use the included anchors or sandbags if conditions call for them. Wind can move a lightweight training net even without a ball hitting it. Anchoring is especially smart for a shared team station, where players may throw hard and the rebounder sees constant use.
Install the Net Evenly for a True Return
Attach the net one connection at a time, working around the frame in an alternating pattern. Start at the corners, then move between opposite sides instead of fastening every bungee down one side first. This distributes tension more evenly and helps the net sit centered in the frame.
The net should be firm enough to return the ball predictably but not pulled so tight that it places unnecessary stress on the attachment points. A properly tensioned net has consistent give across its surface. If the middle is sagging while the edges are tight, or one corner is pulling harder than the others, remove and reset the uneven connections.
Use all designated bungees, straps, or clips. Skipping attachment points may seem harmless for a quick drill, but it changes how the ball rebounds and concentrates force on the remaining hardware. It also shortens the useful life of the net.
Before a player begins, test the setup with a few controlled throws. Throw to the center, then toward the upper and lower portions of the net. Watch whether the return is consistent and whether the frame stays planted. This quick test tells you more than looking at the setup from across the field.
Set the Rebound Angle for the Drill
This is where a rebounder becomes more than a ball-return machine. The frame angle determines the type of return, so change it with purpose instead of leaving it in one position for every workout.
For throwing and receiving reps
Set the face close to vertical, with a slight backward lean if needed to keep returns in front of the athlete. This setup is useful for catch-play alternatives, quick hands, receiving, and throwing mechanics. Aim throws toward the center of the net. A consistent center target trains accuracy while producing the most reliable return.
For younger players, start with a softer throw and a short distance. The goal is clean catches and proper movement, not seeing how hard they can throw into the net. As control improves, increase distance or pace one variable at a time.
For ground balls and low hops
Lower the rebounder so the face angles toward the ground. A ball thrown into the lower half of the net should return as a short hop or ground ball. The exact angle depends on the rebounder design and the surface, so test it before starting a full set.
Keep the athlete in an athletic fielding position, with enough space to move through the ball rather than waiting flat-footed. Change the target point on the net to create different hop locations. Low-center throws often create more direct grounders, while off-center throws can challenge lateral range and glove presentation.
For pop-ups and reaction work
Raise the face and angle it upward to send the ball higher. This can create useful pop-up and reaction work, but it requires more open space and more attention to safety. Use a lower throwing pace first. A rebounder can return the ball faster or farther than expected when the net is tight and the throw hits high on the face.
Do not use high-angle drills under low ceilings, near lights, or around groups that are not paying attention. For indoor work, keep the rebound angle conservative unless the facility has adequate clearance.
Match the Rebounder to Your Training Volume
The right setup also begins with the right class of equipment. A travel ball family that needs a portable station for backyard work and tournament weekends may value a lighter, easier-to-move frame. A school program, training facility, or high-volume team needs a rebounder built to absorb constant throws, repeated setup, and daily use.
Web Flex Sports Spider Series equipment is a practical fit when portability and budget-conscious training matter most. It gives players and families a dependable way to build a repeatable throwing or fielding station without making setup a major project. The Pro Series is the better answer for programs that demand heavy-duty construction, premium durability, and long-term practice infrastructure. Its purpose is simple: keep the station stable and productive when the rep count climbs.
That trade-off matters. A lighter rebounder is easier to carry and store, but it may need more anchoring in wind or during hard-throwing drills. A heavier-duty model typically provides more stability and holds up better under high-volume use, though it is less convenient to move between fields. Buy and set up based on where the rebounder will live and how often it will be hit.
Build a Routine Around Inspection and Storage
A rebounder takes repeated impact, so inspect it before practice instead of waiting for a failure. Check the frame connections, net tension, bungees or straps, and any anchor points. Replace worn components before they break during a drill. A small tear or stretched attachment can turn a predictable return into an erratic one.
After outdoor sessions, clear mud, wet grass, and debris from the frame and net. If the equipment will sit unused for an extended period, store it dry and out of prolonged weather exposure when possible. Portable models should be folded or broken down according to their design, with hardware kept together so the next setup is not slowed by missing pieces.
The best rebounder setup is the one players can repeat without thinking about the equipment. Make the frame stable, tension the net evenly, set the angle for one specific skill, and test the return before the first real rep. Then let the athlete focus on the part that matters: making better plays when the ball is coming back fast.