
A pitching target only helps if it gives the pitcher an honest look at the strike zone. Set too high, too low, too close, or on uneven ground, and it starts rewarding misses instead of command. Learning how to set up softball pitching target equipment correctly gives every bullpen a clear purpose: throw to a defined location, get immediate feedback, and repeat good mechanics without wasting reps.
For a backyard pitcher, that may mean a portable target in a level patch of grass. For a travel ball team or facility, it means a stable, high-visibility station that can handle hundreds of pitches a week. The setup principles are the same. The difference is how much abuse the equipment needs to take.
Start With a Safe, Level Throwing Lane
Before opening the target frame, choose the throwing lane. The pitcher needs a flat, firm surface with enough room to complete her full motion and follow through without stepping into a hole, sprinkler head, or loose equipment. A target placed on a slope can lean forward or backward, changing the apparent height of the zone and making feedback unreliable.
Set the target where missed pitches have a safe stopping area behind it. If the target includes a net, leave enough clearance so the net can flex after impact without hitting a fence, wall, or another player. If you are using an open-frame strike-zone target, place a backstop or protective net behind it. A target is for location work, not a replacement for ball containment.
Keep coaches, catchers, and waiting players out of the direct line behind the target. This sounds basic, but crowded practice areas create unnecessary risk. A clean lane lets the pitcher focus on her release point instead of worrying about where a missed ball will go.
Build the Frame Before You Hang the Target
Most portable softball pitching targets use a frame, net, strike-zone panel, or hanging target sheet. Lay out all poles, connectors, ground stakes, and straps first. Build the base on the ground, then attach the uprights and crossbar. Do not force poles together at an angle. A frame that is twisted during assembly is more likely to wobble, sag, or wear prematurely.
Once the frame is standing, check three things: the legs sit flat, the uprights are vertical, and the target face is square to the pitcher. A face that is turned slightly left or right makes one side of the zone look larger than the other. That can encourage pitchers to miss arm-side or glove-side without realizing it.
Tighten straps until the target is firm but not stretched like a drum. Netting and fabric need a little give to absorb the ball. Over-tightening can put unnecessary stress on attachment points, while loose material can sag into the lower part of the zone.
Anchor It for the Surface You Have
On grass or dirt, use ground stakes whenever the target is designed for them. Drive stakes fully into the ground and angle them away from the frame so they resist forward movement. Check that no stake is sticking up where a player could catch a cleat.
On turf, concrete, gym floors, or hard-packed indoor surfaces, stakes are not an option. Use weighted bases or sandbags placed over the frame legs, not against the target face. Weighting the legs keeps the target planted while allowing the net or panel to do its job. Avoid makeshift weights that can roll, slide, or create a tripping hazard.
Wind matters more than most people expect. A large target face can act like a sail, especially outdoors. If the frame shifts during a session, stop and reset it. Do not ask a pitcher to throw at a moving zone.
Set the Strike Zone at a Useful Height
The target should represent the hitter the pitcher is preparing to face. For general youth training, center the usable strike-zone area around the hitter's midsection rather than guessing at a fixed measurement. The bottom of the zone should be near the batter's knees, and the top should reach the area between the chest and armpits when the hitter is in an athletic stance.
A single target height will not fit every age group. A 10U pitcher preparing to face smaller hitters should not train exclusively to a high-school-sized strike zone. Likewise, older pitchers need a target that challenges them to work at the edges instead of throwing everything through a broad, forgiving center.
If your target has an adjustable strike-zone window, start with the middle zone aligned to the approximate belt line of the expected hitter. Then use visual markers for specific locations: low and away, low and in, rise-ball height, and the four corners. The goal is not to make the target tiny. The goal is to make the pitcher accountable for a real location.
Make the Zone Match the Drill
For fastball command, use a full strike-zone opening and call locations before each pitch. For changeups or drop balls, give extra attention to the lower third. For rise balls, mark an upper target that still finishes within a competitive area. Pitchers should not simply throw at the biggest open space. They should see a pitch location, execute it, and know whether they hit it.
A good target setup also helps coaches diagnose misses. If a pitcher consistently misses above the target, the issue may be release timing, posture, or an overactive upper body. If she misses arm-side, the coach can watch stride direction and finish. The target does not replace coaching, but it makes patterns easier to see.
Measure the Pitching Distance From the Plate Line
Place the target so its strike-zone face represents the front edge of home plate. Then measure from that plate line back to the pitching rubber or starting point. Regulation fastpitch distances vary by age and league, so use the distance your pitcher will actually play. Do not assume every youth division uses the same rubber placement.
For young athletes who are still learning motion patterns, shorter-distance drills can be useful. But label them as drills. A closer target changes timing, perceived ball flight, and decision-making. When the purpose is game-ready command, return to the pitcher’s regulation distance.
Use a tape measure instead of pacing it off. A few feet may not sound significant, but softball pitching happens fast. Consistent distance gives the pitcher a consistent visual target and makes progress easier to track from session to session.
Create a Practice Routine Around the Target
The best setup is one players will use with intent. Start each session with a quick equipment check: frame stable, straps secure, target centered, and lane clear. Then give the pitcher a simple plan instead of telling her to throw a bucket of balls.
A productive command sequence might begin with five pitches to the middle of the zone, followed by sets to each lower corner. From there, call pitches and locations in random order. Random work matters because games do not let pitchers throw the same pitch to the same spot five times in a row.
Track results with a simple chart. Mark whether each pitch was on target, just off, or clearly missed. Over time, the chart shows more than a total strike percentage. It reveals which locations break down under fatigue and which pitch types need more attention.
Choose a Target That Fits Your Training Volume
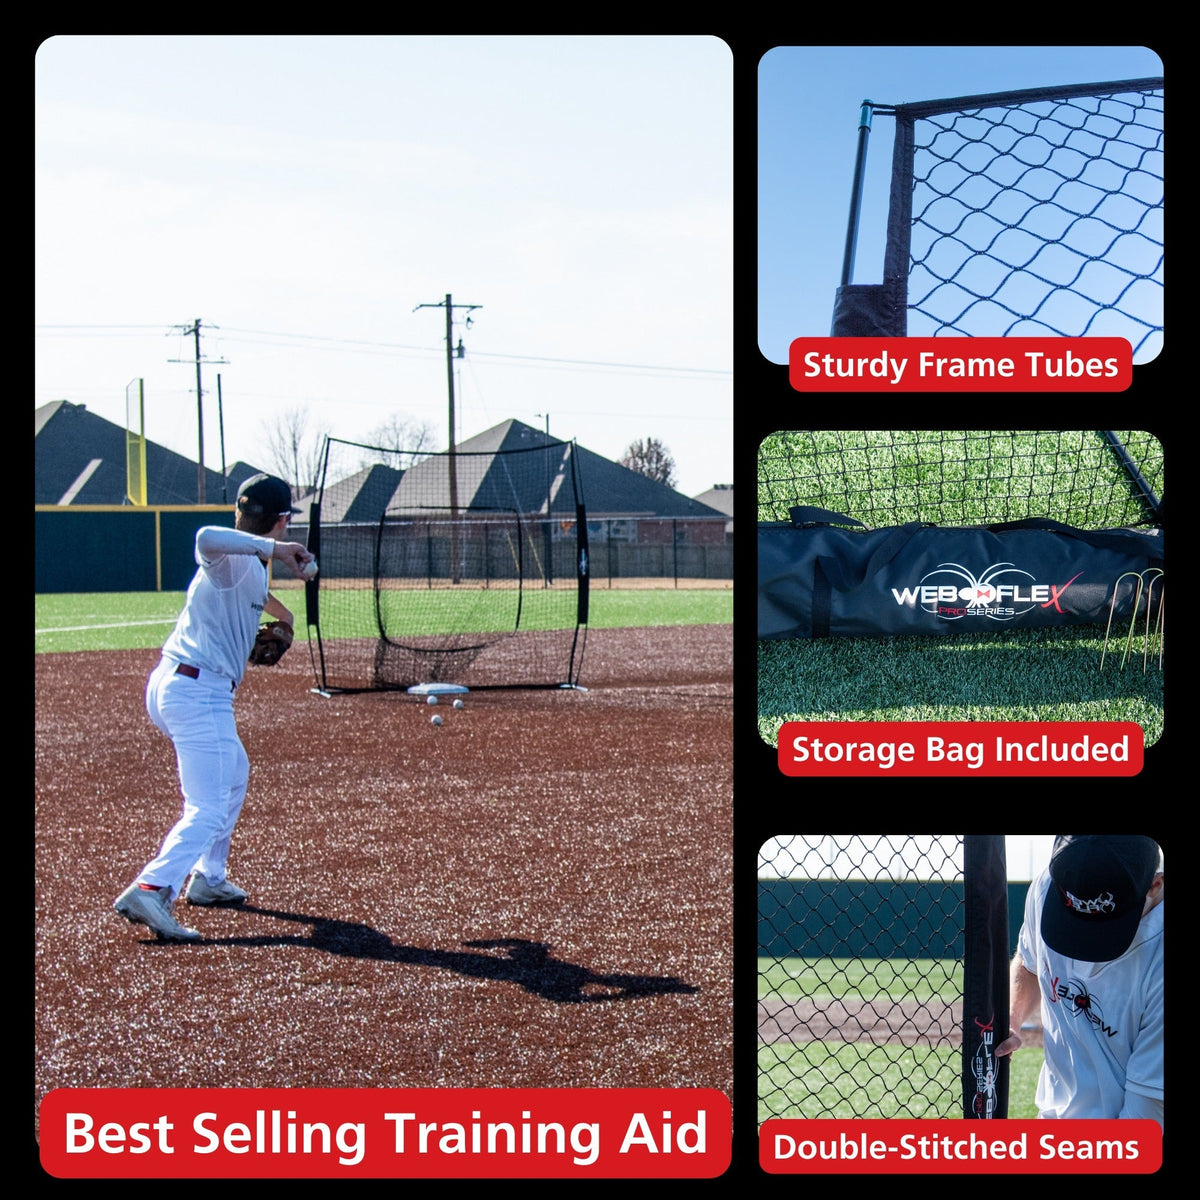
A lightweight target is a practical choice for families moving gear between the driveway, field, and tournament weekends. The Web Flex Sports Spider Series is built for that kind of portable training setup, giving players a dependable option when easy transport and straightforward assembly matter most.
Teams, schools, and facilities need more margin for heavy use. Repeated high-velocity impact, frequent setup, and outdoor exposure can wear out lighter frames quickly. The Web Flex Sports Pro Series is the better fit for high-volume environments where frame strength, long-term stability, and serious practice infrastructure are the priority.
The trade-off is simple: portability favors lighter gear, while daily institutional use calls for a heavier-duty build. Buy for the workload you actually have, not just the first week of practice.
Keep the Target Honest
Check the target before every session and inspect it more closely after windy days, hard impact, or travel. Look for bent poles, loose connectors, frayed straps, sagging netting, and shifting weights. A target that has changed shape is no longer giving accurate feedback.
Also resist the temptation to leave the same target height and distance in place all season. Recheck it as the pitcher moves between age groups, fields, or training goals. The right setup gives her a repeatable visual standard. That is how a simple target becomes a real command tool: every pitch has a location, every miss tells a story, and every good rep has a reason behind it.